
 Português
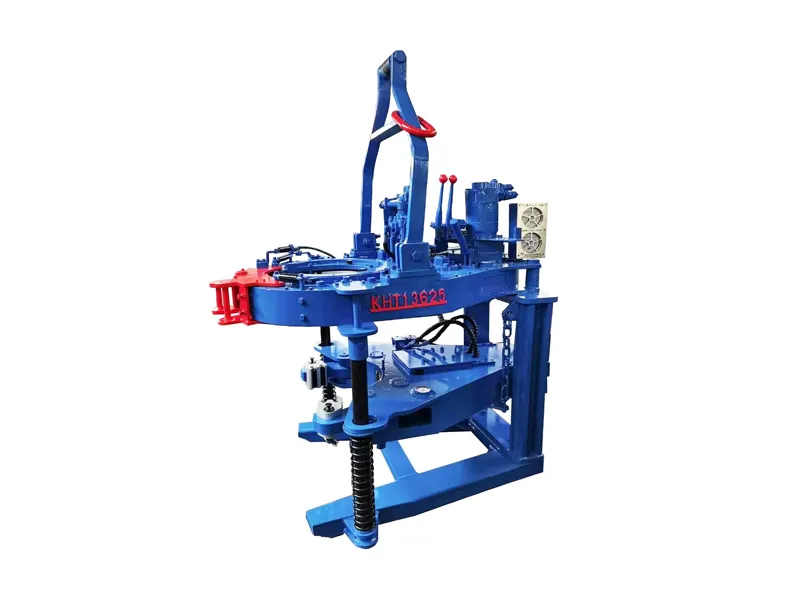
How should I replace worn parts of the Bucking Unit?
Browse services
- Petroleum and Gas
- Egypt Petroleum Show
- Beijing Petroleum & Petrochemical Exhibition
- Foreign Business Representatives Visit and Guide
- Jiangsu Shenlida Machinery Manufacturing Co., Ltd. made its debut at the Abu Dhabi Petroleum Exhibition
- What are the advantages of using a Bucking Unit?
- Common Bucking Unit Operation Errors and How to Avoid Them?
- What are the safety checks before operating a Bucking Unit?
- Bucking Unit Safety Operating Procedures
- How to Use the Operator Panel to Control a Bucking Unit
- How to Calibrate a Bucking Unit?
- What preparations are needed before using the Bucking Unit?
- What is the operating procedure of the Bucking Unit?
09 Aug
Bucking units are critical equipment in drilling operations, and their parts inevitably wear out under long-term, high-load, and high-frequency operating conditions. Part wear not only affects the proper operation of the equipment but can also degrade connection quality and even cause safety incidents. Therefore, scientific and rational replacement of worn parts is crucial to maintaining the performance and operational safety of the bucking unit. The following details the replacement procedures and precautions for worn bucking unit parts.
1. Identification and Determination of Worn Parts
Before replacement, it is important to accurately identify and determine which parts are worn and require replacement. Common worn parts include jaw gaskets, hydraulic cylinder seals, oil seals, bearings, guide rails, and fasteners.
Visual Inspection: Observe the surface of the parts for obvious scratches, cracks, deformation, or defects.
Functional Testing: Problems such as sluggish operation, weakened clamping force, and hydraulic leakage during operation often indicate severe wear of the relevant parts.
Dimensional Measurement: Measure the dimensions of key parts using specialized tools to determine whether they exceed the wear limits specified by the manufacturer or industry. Lubrication: Check the lubricating oil for metal shavings or unusual contaminants. If present, this may indicate increased wear on internal parts.
After identifying worn parts, a replacement plan should be developed promptly to prevent further damage.
2. Preparatory Work Before Replacement
Shutdown and Power Off
Ensure the Bucking Unit is completely stopped. Disconnect the hydraulic system power and electrical control power to prevent accidental startup.
Clean the Work Environment
Remove oil and dust from the equipment surface. Keep the work environment clean and tidy to facilitate observation and subsequent operations.
Tool and Spare Parts
Prepare required specialized disassembly and assembly tools, screwdrivers, wrenches, etc., and ensure that replacement parts are from legitimate sources and of the correct model.
Technical Data Review
Refer to the equipment manual or service manual for disassembly and assembly procedures, precautions, and torque specifications.
3. Disassembly Procedures for Wear Parts
Depressurization and Oil Draining
Before replacing hydraulic system parts, release system pressure to prevent hydraulic fluid from spraying out and injuring personnel. Drain the hydraulic fluid completely if necessary to prevent environmental contamination.
Removing External Accessories
First, remove external connectors associated with the worn parts, such as pipe joints, mounting bolts, and protective covers. Disassembling Main Parts
According to the maintenance manual, use specialized tools to remove worn parts. Handle with care to avoid secondary damage to surrounding parts.
Inspecting Removed Parts
Perform a detailed inspection of the removed parts to determine the wear condition and cause, which will guide subsequent repair or replacement.
4. Installation Procedure for New Parts
Cleaning the Installation Area
Before installation, thoroughly clean the part mounting seat and related mating surfaces to ensure they are free of oil, impurities, and rust.
Inspecting the Condition of New Parts
Confirm that the new parts are intact and of the correct specifications and model. Apply any necessary lubrication, such as rust-proof oil or grease.
Precise Installation and Positioning
According to the drawings or technical specifications, accurately position the parts to avoid eccentricity or misalignment.
Tightening Bolts and Connectors
Tighten the relevant bolts gradually and evenly according to the manufacturer's specified torque standards to ensure a secure connection without deformation.
Installing Hydraulic Seals
Seals, oil seals, etc. should be installed gently to avoid scratching or stretching. Use specialized installation tools if necessary.
Replacing Disassembled Accessories
Restore removed piping, protective covers, etc. to ensure the structural integrity of the equipment.
5. Post-Replacement Inspection and Commissioning
Check Sealing
Start the hydraulic system and inspect the replaced parts for oil leaks or seepage.
Functional Test
Perform no-load and loaded test runs to verify smooth operation and normal clamping force.
Check Operating Parameters
Monitor key parameters such as oil pressure, temperature, and torque to ensure they are within normal ranges.
Observe for Abnormal Sound and Vibration
After replacement, there should be no abnormal noise or vibration. If any abnormality is detected, shut down the machine for inspection immediately.
6. Precautions for Replacing Worn Parts
Select Qualified Parts
Purchased parts must meet equipment specifications. Avoid using inferior or incompatible substitutes.
Take Protective Measures
Wear protective gear during disassembly and installation to prevent oil splashing and mechanical damage.
Record Maintenance Information
Detailed records of part replacement time, specifications, reasons, and operating status will facilitate equipment management and lifespan assessment.
Avoid Reusing Seals
Once removed, seals should not be reused to ensure effective sealing.
Environmental Protection
Disposal of waste oil and used parts must comply with environmental regulations to prevent contamination.
Summary
Bucking unit part wear is an inevitable part of normal equipment operation. However, through scientific identification, standardized disassembly and assembly, replacement of high-quality parts, and rigorous commissioning and testing, equipment performance can be maximized and service life extended. A well-planned parts replacement cycle, combined with routine maintenance and management, can effectively reduce failure rates and ensure the continuity and safety of drilling operations. While replacing worn parts is a tedious task, each meticulous step is fundamental to ensuring stable equipment operation and must not be neglected.
Recommended Products
Contact US
Product Information
Quantity
Unit
Piece
Support order samples, customization, wholesale direct, and complete payment. If the product you look for does not have corresponding customized content, pls fill out the form below to contact us, and we will reply ASAP.